Compost Bin Construction
Text and photos by Jane Starr
Most gardeners know compost is important. You can buy it by the truckload if you want to, but there are many ways to make compost at home, which is good for the environment, reduces pressure on the waste management system, and is scientific fun, too! For the basics on composting, you can read an article here, To make compost efficiently, you need some kind of compost bin, and this is how I built mine.
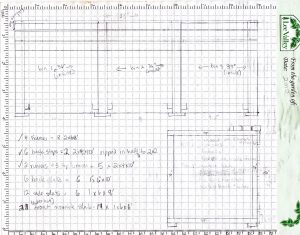
Fig.1 – the plan.
I began with a plan (Fig.1). This was adapted from the multi-compartment bin plan in the City of Edmonton’s Do It Yourself Composting Bin document. To adapt it, I measured the space available for the composter, and adjusted the measurements and supply list.
Other modifications included putting slats around the outside of the three fixed sides. This helps keep the moisture in when it’s really dry, prevents the mesh from bulging out when the bins are full, and looks a lot nicer from outside the yard.
Grid paper and scale drawings aren’t absolutely necessary, but I find them very helpful when figuring out quantity of materials required.
Tools used: tape measure, tin snips, hammer, pencil, power drill with screwdriver bits, electric mitre saw, table saw, carpenter’s square, staple gun and staples.
| Description | Quantity |
|---|---|
| 2"x 4" x 8' cedar | 8 |
| 2" x 4" x 10' cedar | 6 |
| 1" x 6" x 10' cedar | 6 |
| 1" x 6" x 8' cedar | 6 |
| 1" x 6" x 6' cedar | 14 |
| 40" wide hardware cloth (wire mesh) with 1/2" openings | 22 feet |
| paintbrush | 1 |
| boiled linseed oil | 2 litres |
| 3" deck screws | box |
| 1 5/8" fence screws | box |
| 16" long concrete blocks (optional) to put under the outside of the bin for support/stability | 20 or so |
Site Preparation
I began by clearing and leveling the site for the new bins. This meant moving a temporary compost pile, and there were unhappy bees, but I couldn’t figure out where they were living so I hope I didn’t wreck their little lives. Next, I laid the concrete blocks. This is optional, but I have a slightly slanted site and it seemed a better way to level it for the bin than just trying to pile more dirt on one end. It’s better for the compost to be in contact with the soil below the bins, so the blocks only go around the outside edges and under the internal dividers.
Pre-Construction
I double-checked all measurements, found all the tools, and looked to see if we already had anything on the supply list. It’s really annoying (not to mention wasteful) to buy something and then find out I already have it.
Next, I bought supplies. I don’t have a truck, but my son and I got everything in the back of a vintage Jeep Grand Cherokee; just the longest bits stuck out the back. We forgot to bring rope to tie it down, though, and the guy at the lumber yard was a bit judgey. However, he found some scrap strapping to tie it all together securely. We got everything home safely, unloaded (Fig.2), and celebrated with a nice cup of tea.
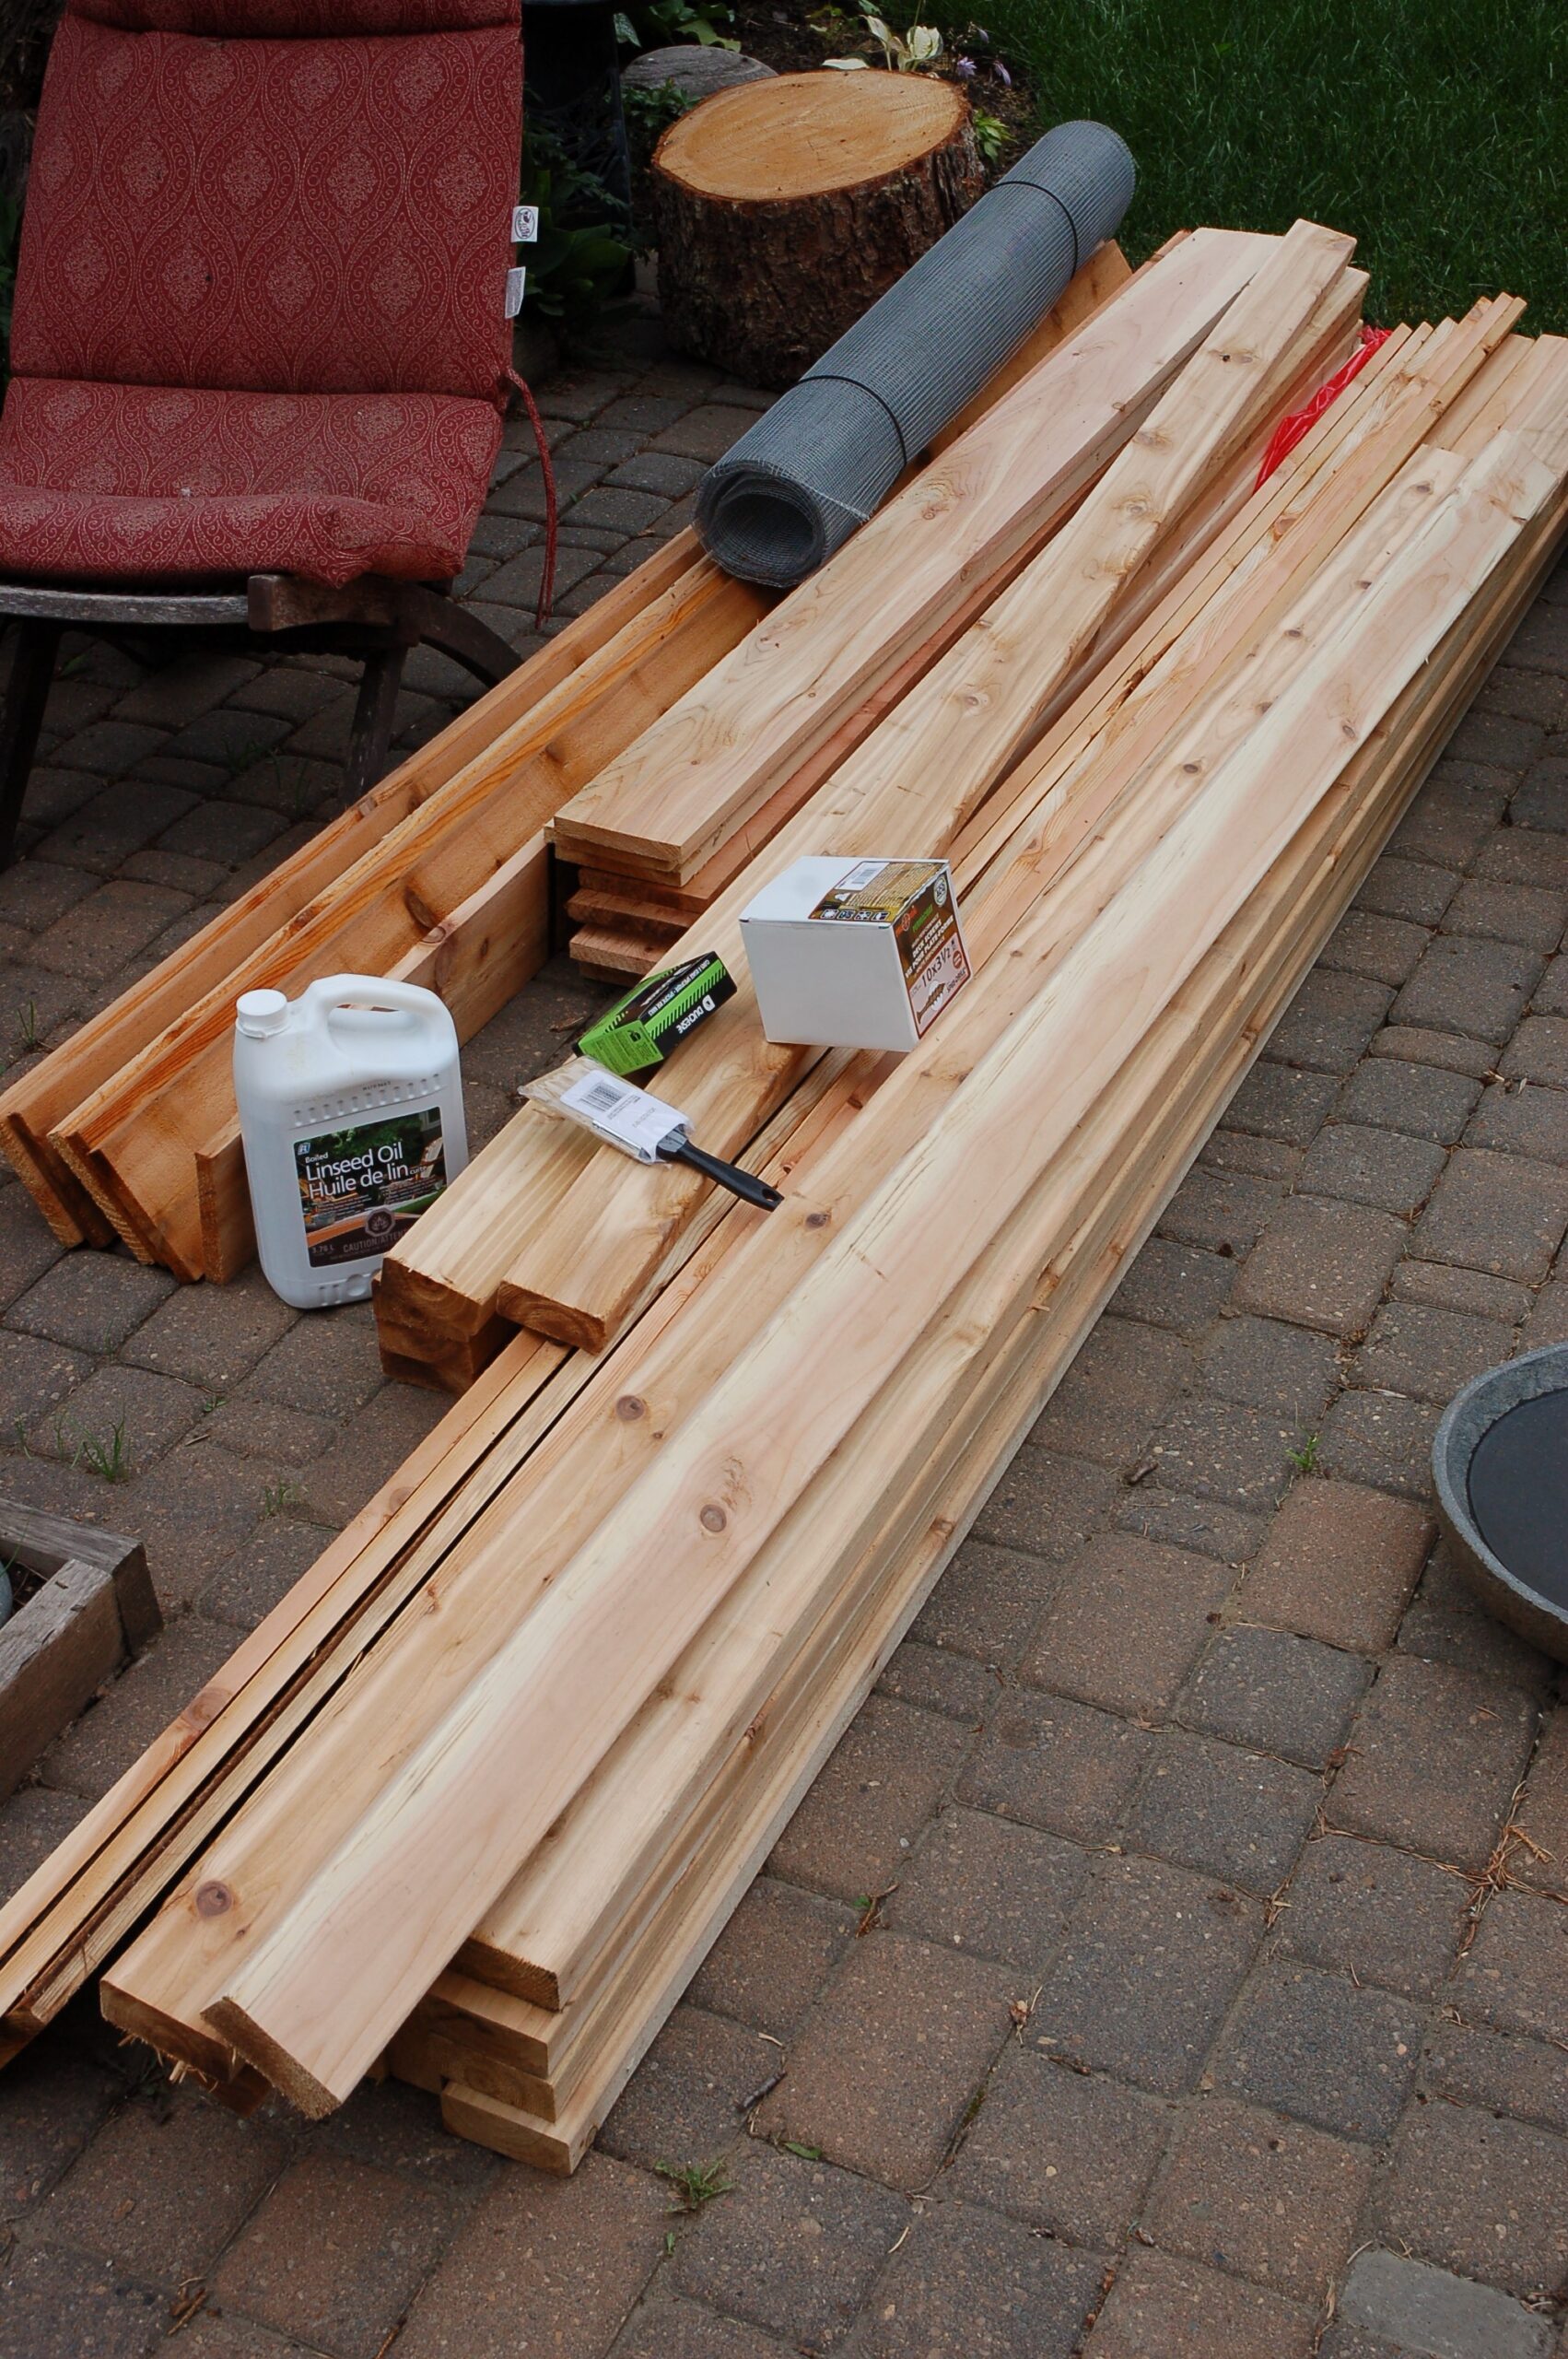
fig.2
Constructing the frame
Finally it was time to start the exciting part! Construction! I cut the two bottom rails to size.
Note re: linseed oil: I oiled all sides of EVERYTHING before it was screwed together. Even though I used cedar, I feel the linseed oil is a worthwhile extra preservative. I enjoy building things, but it’s not so much fun that I want to do it again any time soon. On the down side, I smelled like linseed oil for days afterwards.
I cut the pieces for the frames that make up the sides of the bins and the internal dividers and screwed them together using the 3″ screws. The bottom and top were 39″, the front and back were 36″ This made them roughly 39″ on each side.
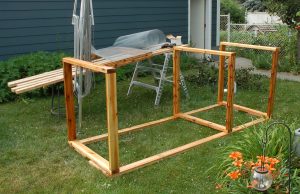
Fig. 3 – end frames mounted, putting screen on inside frames
I mounted the two outside frames on the rails and screwed them down with 3″ screws (Fig. 3), but didn’t make sure they were both oriented the same way (with a solid board on top). Oops. I had to unscrew one, turn it and re-attach it.
I stapled the hardware cloth (wire mesh) to one side of each of the two internal dividers. This must be attached all the way around, so that it stays in place to separate the bin contents, and also because it is an important part of varmint-proofing the bins. I trimmed excess mesh off with the tin snips.
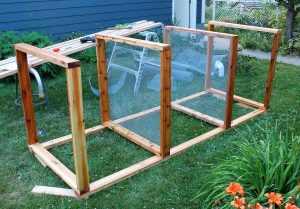
Fig. 4 – internal frames covered in screen and attached
Then I mounted the two internal frames as with the end ones (Fig. 4). I made one section larger because the bin being filled with fresh material always needs more room.
Then I cut one of the 2×4 top braces to length and screwed (with the 3″ deck screws) it to the top of the frames to hold them in place (Fig 5). I should have measured to make sure the spacing at the top of the frames was the same as at the bottom. Oops.
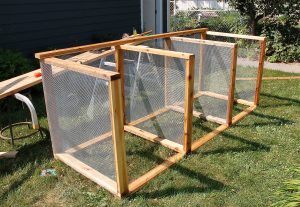
Fig. 5 – screen all the way around and 1st top brace installed
Then I turned the whole thing over onto the front (opening) side and put 3″ screws from the bottom rails into the frames (in addition to the screws from the frames into the bottom rails) for extra security. Last time, I used carriage bolts to attach the frames to the rails, but I decided not to this time. I hope I don’t regret it!
Covering the Frame
I wrapped the outside of the back and sides with the wire mesh and stapled it into place (Fig.5). As before, I stapled all edges securely and trimmed off the excess wire mesh.
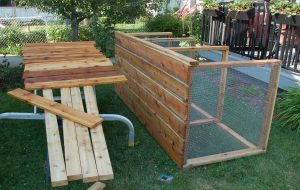
Fig 6 – back slats in place
I cut the 6 back slats to length. Then I laid them on the back of the composter (which was still front down), spaced them evenly (more or less) and screwed them in place with the fence screws (Fig. 6). They go right over the mesh.
I cut the side slats to length and spaced them the same as the back slats and screwed them on with the fence screws (Fig. 7). I took a bit of trouble here to make the ends of the side boards line up with the back boards, just to make it tidier.
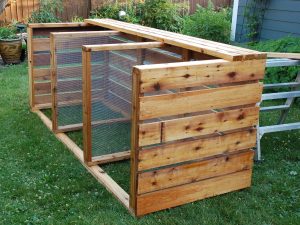
Fig. 7 – side slats and top braces in place
Next, I turned the bins upright and screwed on the other two top braces. These prevent the sides and dividers from spreading when the compost is added. One brace at the back isn’t enough, and one at the front gets in the way, but three at the back do the job without interfering with filling or emptying the bins. In the original City of Edmonton plan, the braces are also a place to attach the hinges for a lid. I don’t use a lid because I like the rain to help keep the compost damp and it isn’t needed to keep out critters. Maybe if we had raccoons it would be different, but around here it’s mainly mice, and a lid is no defense against them.
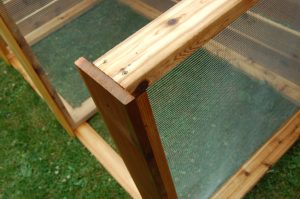
Fig.8 – front stops
The Front of the Bin
I cut four 1×6 boards to the height of the front of the bins, and attached them with fence screws to the front of the frames. These are the front stops for the removable front slats (Fig. 8). The stops on the outside ends are aligned with the outside edge of the bin; the middle ones are centred on the vertical dividers so they stick out on both sides.
I ripped one of the 2x4s in half to make 2x2s for backstops. I cut the 2x2s to length and used a scrap of 1×6 to figure out where they had to go and screwed them in place with the 3″ screws. The backstops need to sit away from the vertical boards on the front, so they are attached only at the top and bottom. You can see them in Fig. 11.
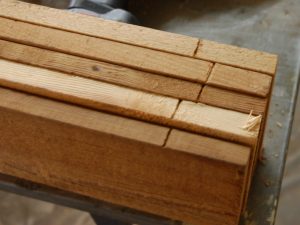
Fig.9 – notches
The removable front slats were the last step of construction. If I’d made all the bins the same size, I could have cut all the slats the same and they’d be interchangable. As they weren’t the same, I cut the slats for one bin at a time. Then I used a hand saw to cut a notch in one side of each slat (Fig. 9) – one notch for bin 1, two notches for bin 2, three notches for bin 3. Now I’ll always know easily which slats go with which bins.
Final Steps
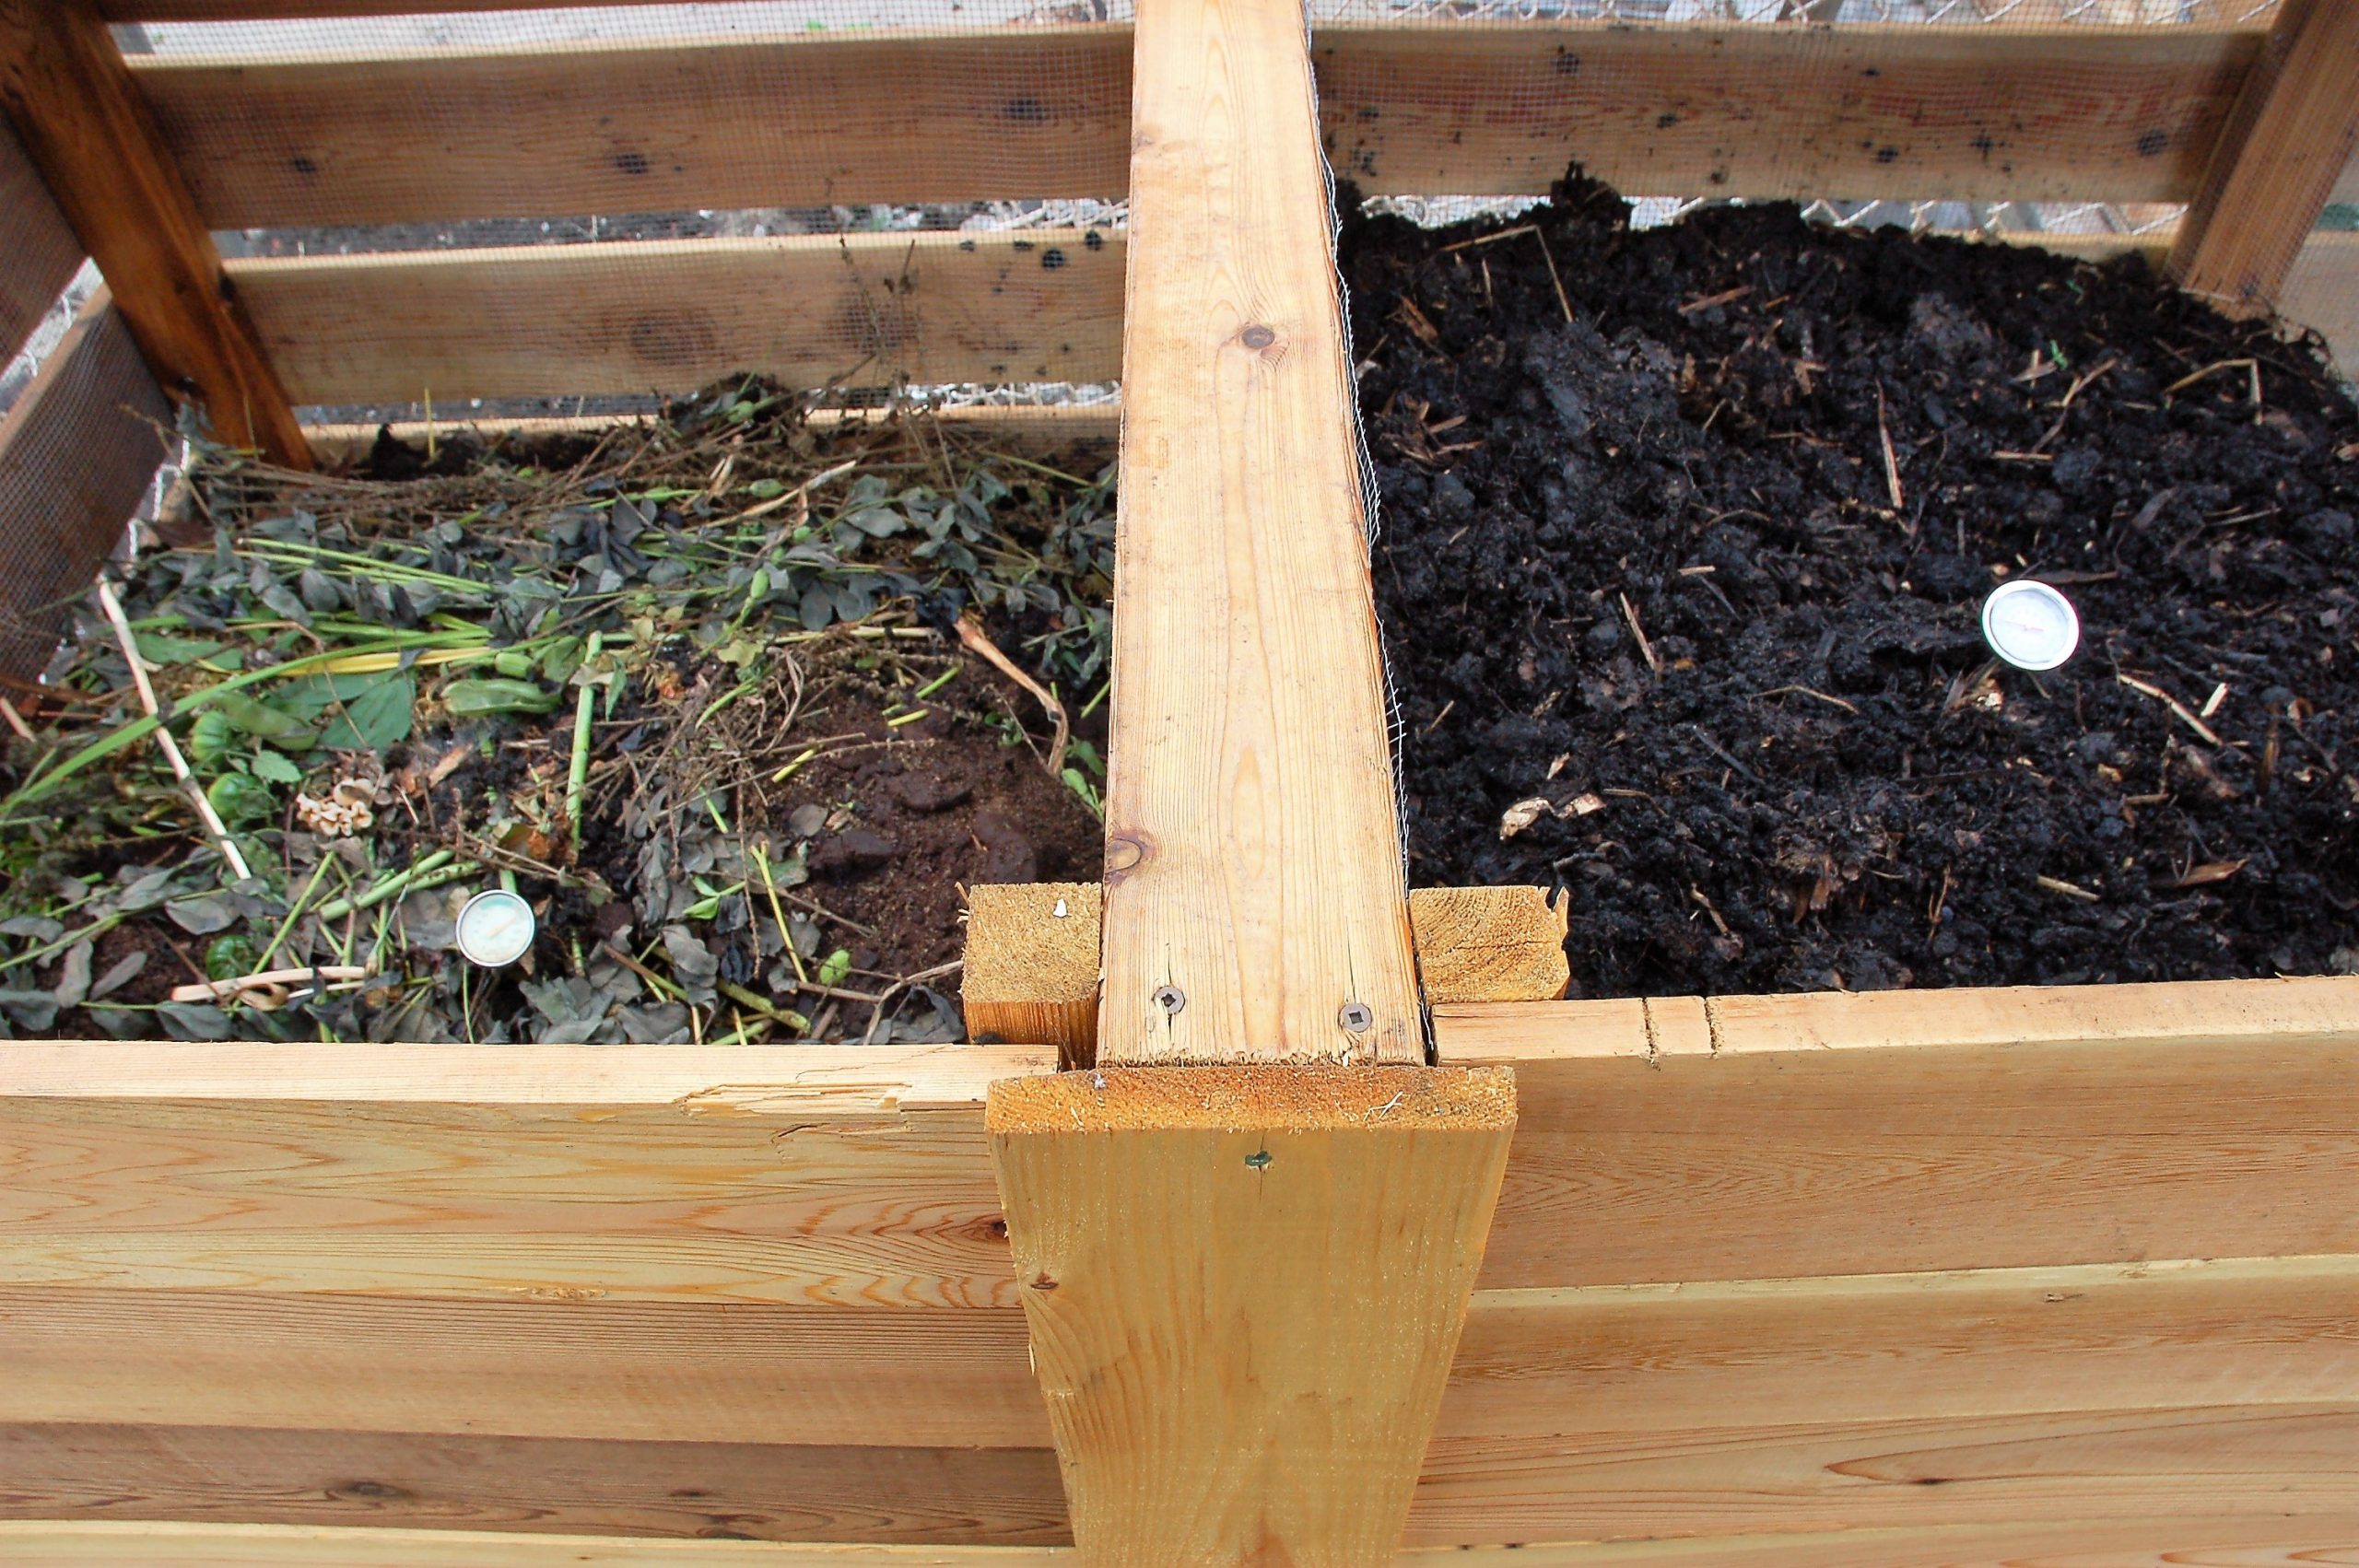
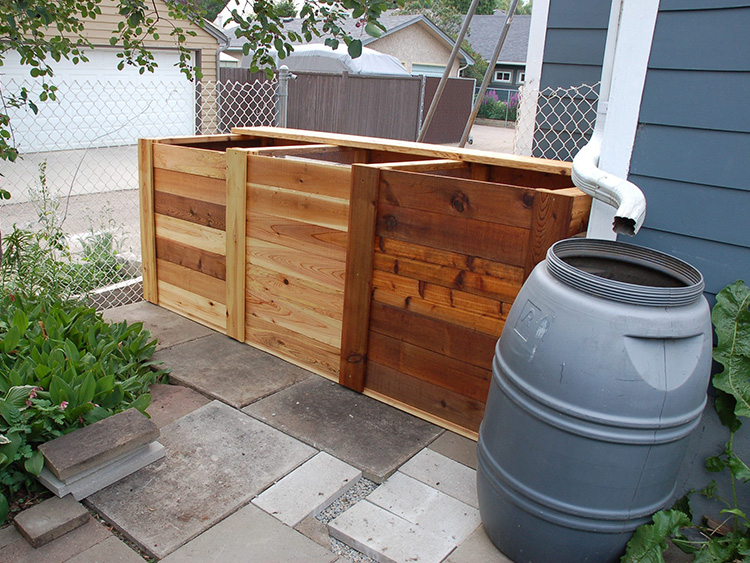
The last and most satisfying step was moving the bin into place and adding the front slats (Fig 10). I filled it with all the unfinished compost and fresh material (Fig. 11).
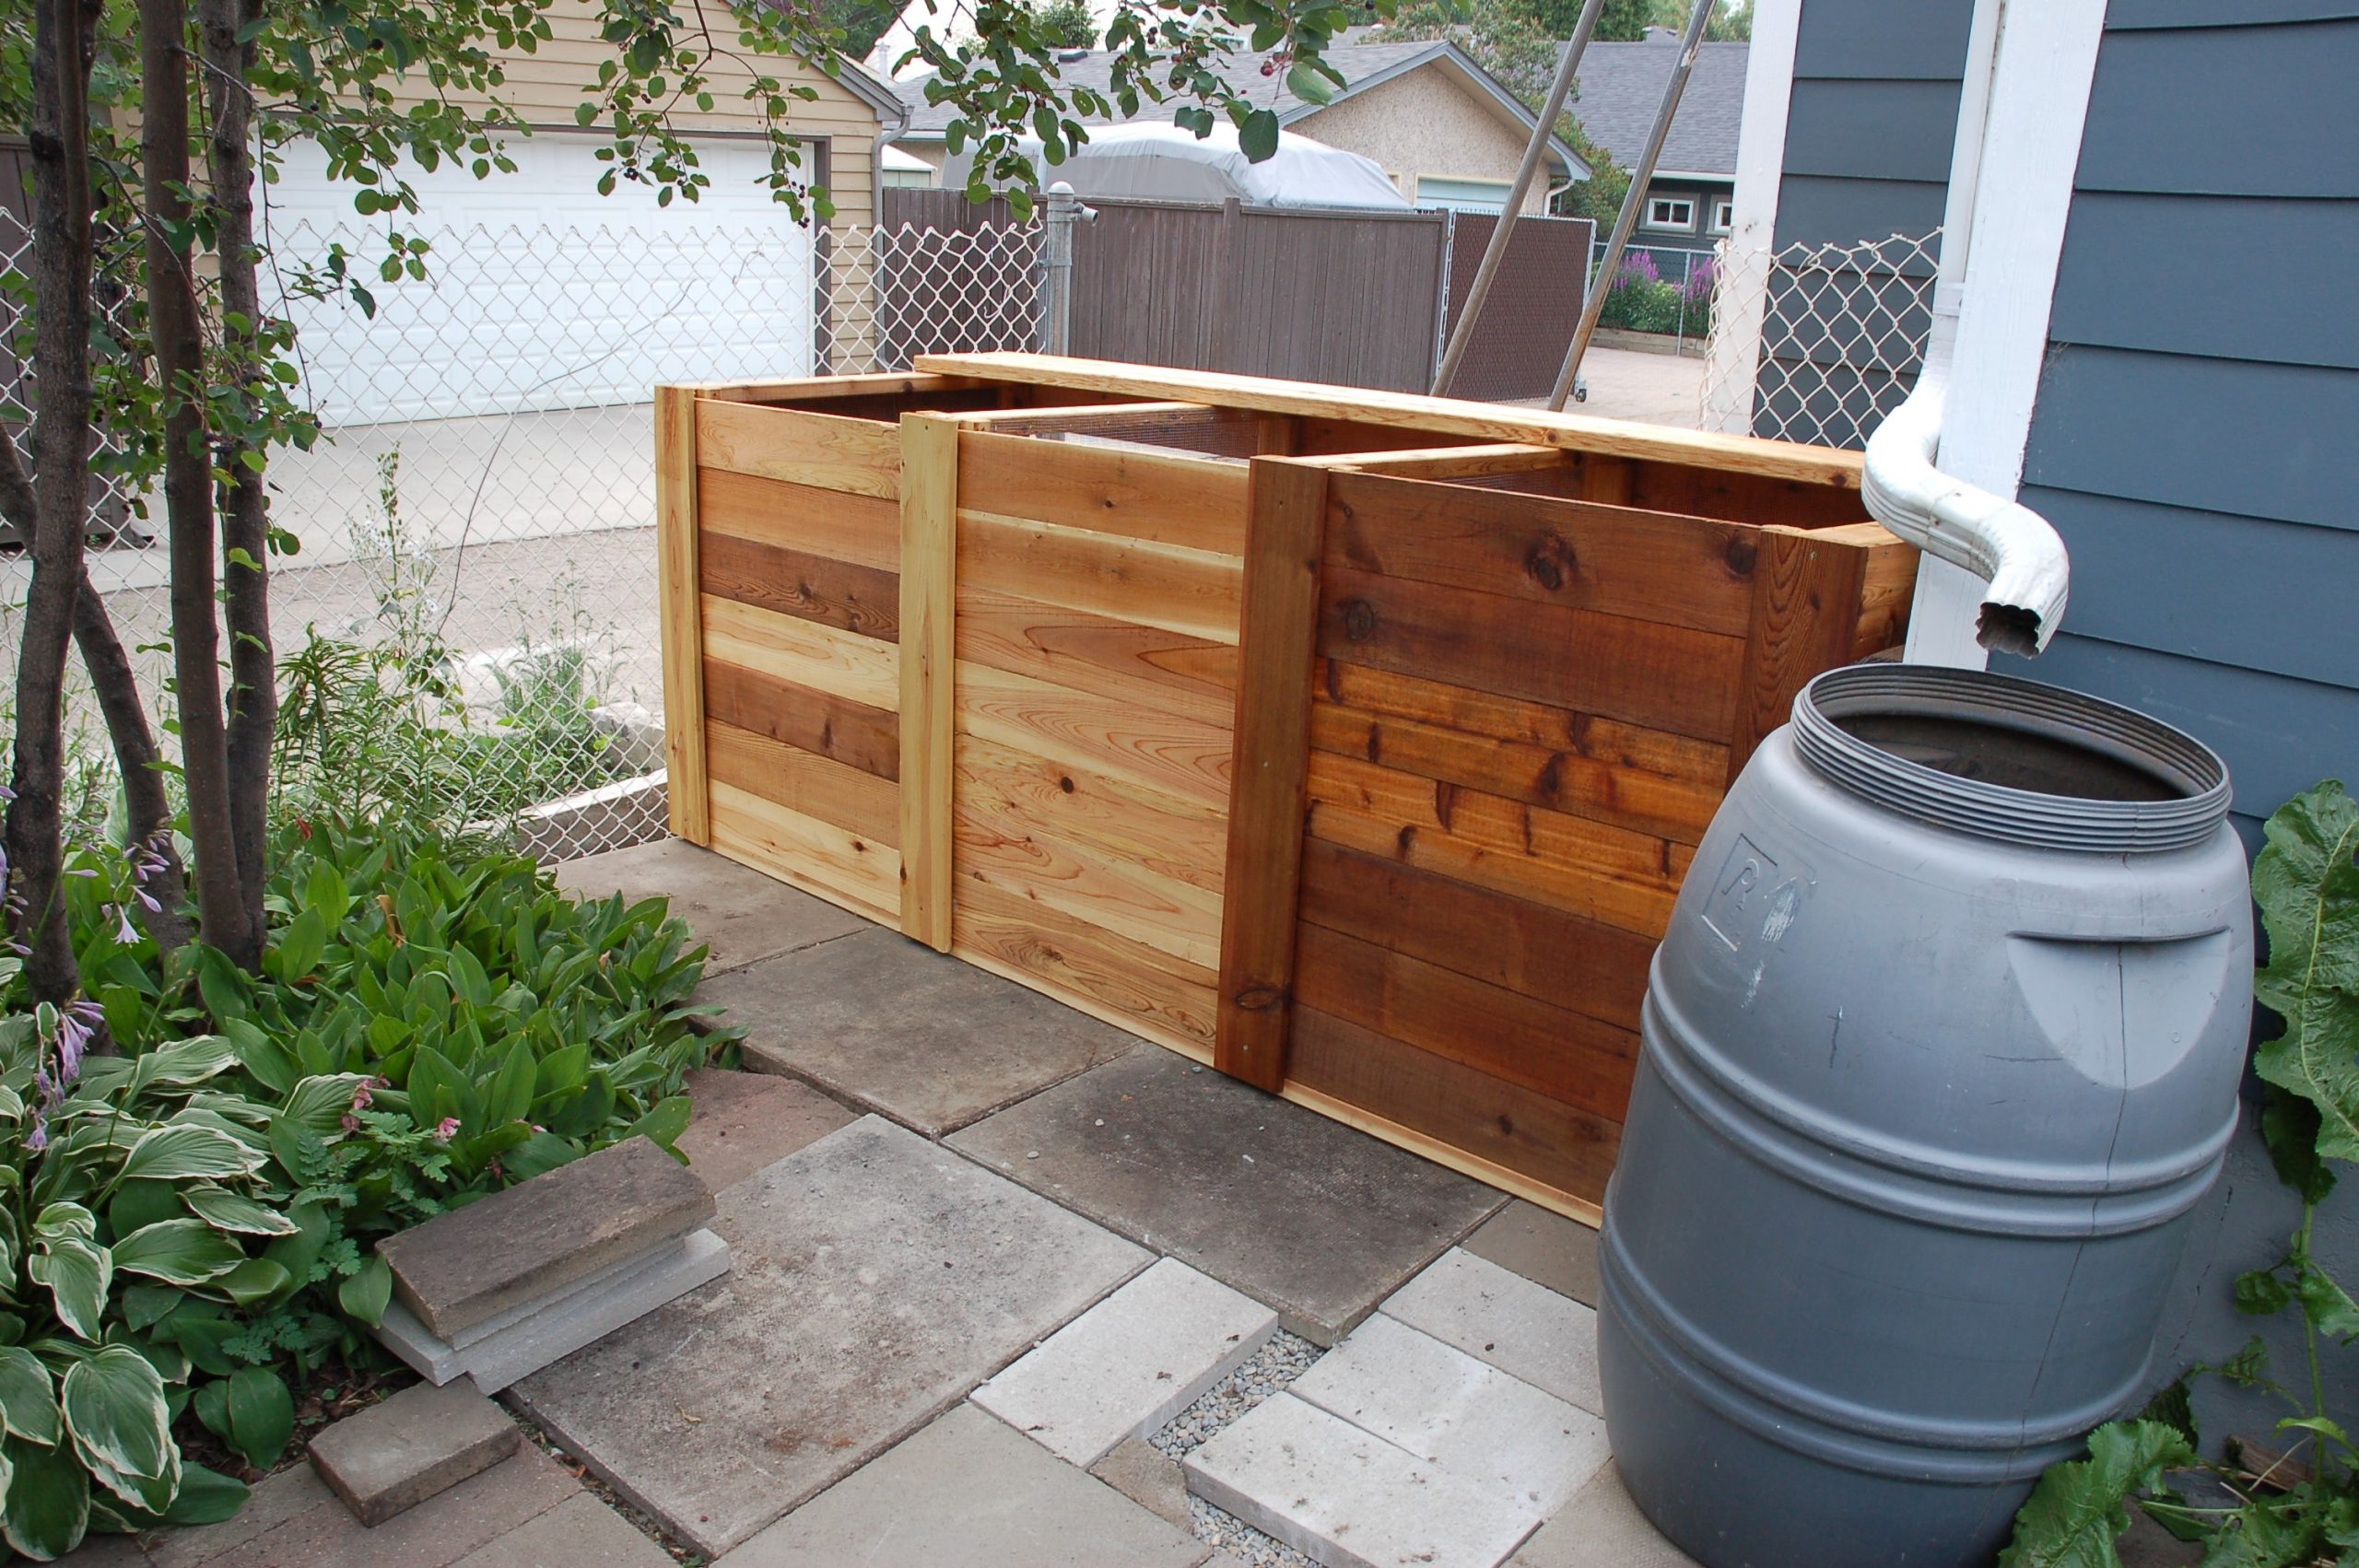
Fig. 10 - the bins in place!
